Windows 10’s brightness control works… sometimes. Other times, it just flat-out refuses.
If you’ve ever plugged in an external monitor and found that the brightness slider disappeared, you’re not alone. Let me explain why this happens — and how I fixed it for myself (and maybe for you too).
💡 The Problem with Windows Brightness Settings
Windows does offer several ways to adjust brightness:
Settings → Display → Brightness slider
Action Center quick controls
Fn keys on laptops
But here’s the catch: These only work under specific conditions. For example:
You must be on a laptop with integrated display
You must use eDP or LVDS connections (internal display types)
HDMI, DisplayPort, or USB-C displays? No dice — Windows can’t change their brightness
This means if you’re:
Using an external monitor
Connecting through HDMI / DP / USB-C
Running multiple displays
Then your brightness slider might be missing, grayed out, or completely useless.
As a developer, that’s unacceptable — especially when working at night or trying to reduce eye strain.
🔧 My Solution: CareUEyes
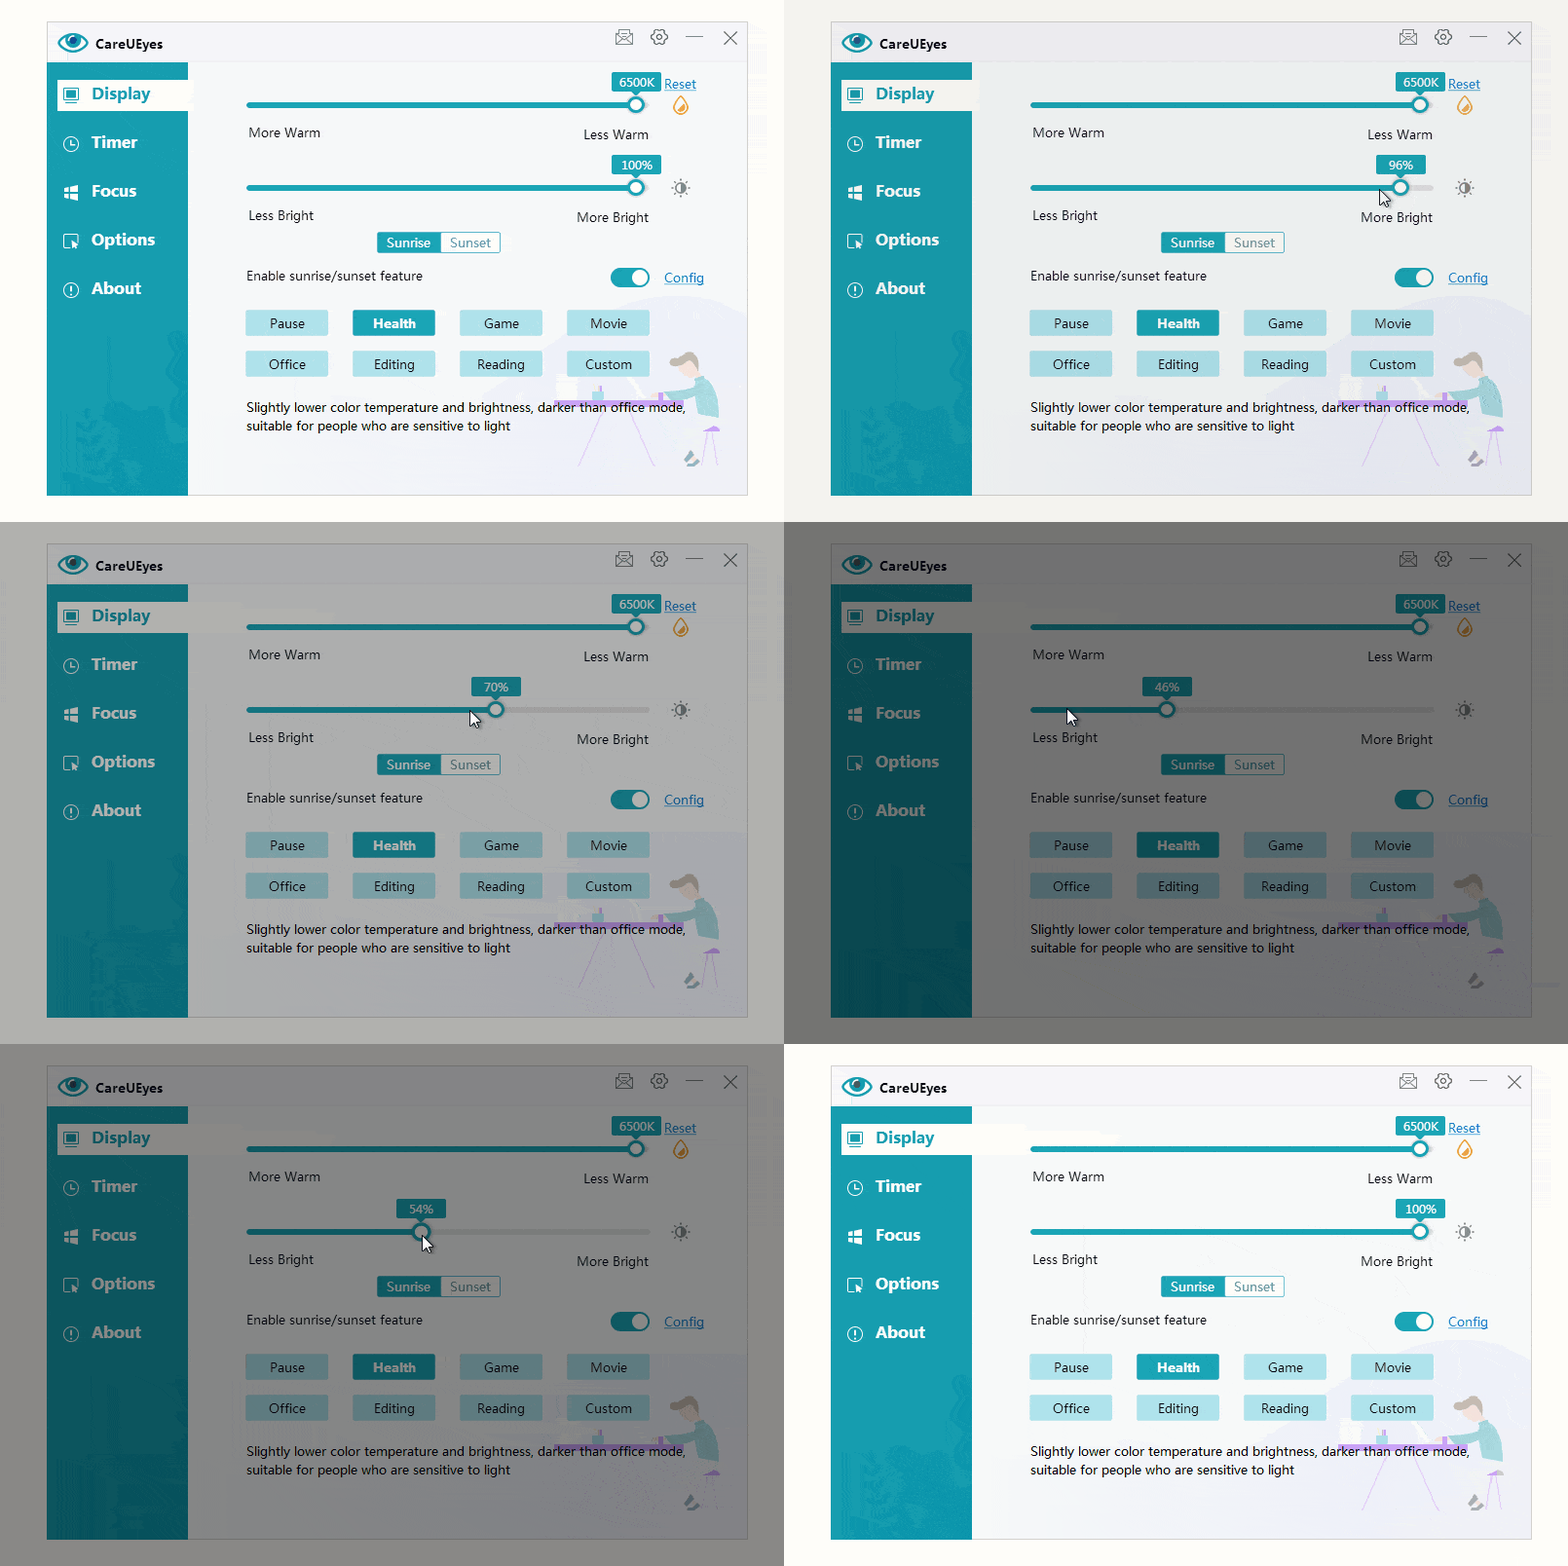
I built CareUEyes to solve this exact problem. Instead of relying on hardware brightness (which Windows is often blind to), it uses a software-based brightness layer that:
Works with any monitor, no matter the connection type
Doesn’t depend on graphics card drivers or system-level support
Lets you dim the screen even below the system minimum
🖥️ One Tool, All Monitors
CareUEyes lets me adjust brightness on:
External monitors connected by HDMI or DisplayPort
USB-C portable screens
Multi-monitor setups with mixed resolutions
Desktop PCs without built-in displays
It just works — whether Windows “detects” your brightness settings or not.
✨ Bonus: It Does More Than Just Brightness
I figured, if I’m already building a brightness controller, why not make it eye-friendly too?
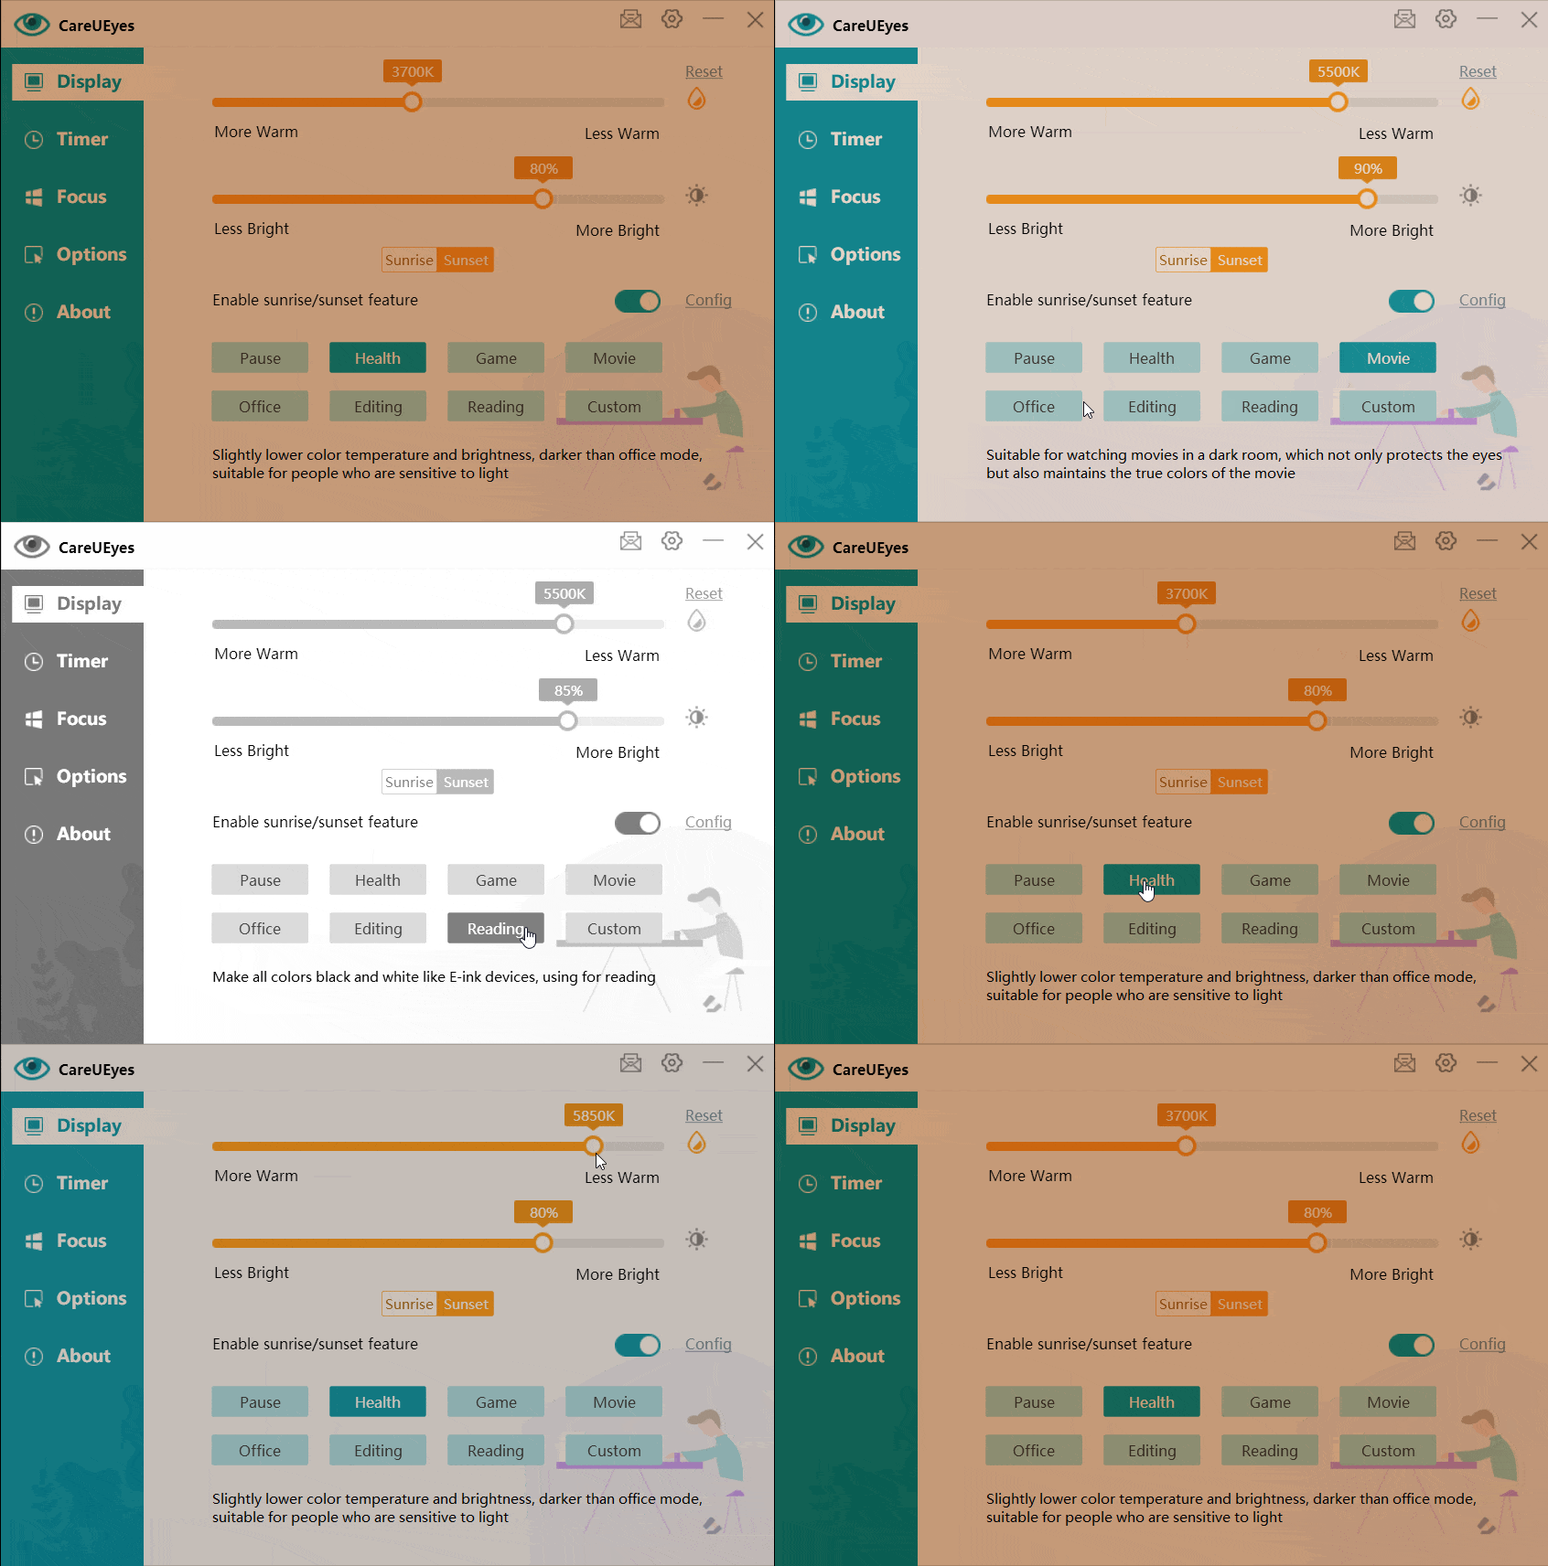
Blue Light Filter – Warms up screen color to reduce eye strain
Preset Modes – Reading, Night, Office, etc.
Automatic Scheduling – Switch modes based on time of day
Screenshot-Safe – Brightness and color overlays are invisible in screenshots
All lightweight. No bloat. No system conflicts.
🧠 Why This Matters
If you’ve tried everything — drivers, GPU settings, random registry hacks — and still can’t dim your screen on certain monitors, it’s not you. It’s Windows. It simply wasn’t built for modern multi-monitor setups with flexible brightness needs.
READ NEXT:

