Dry eye syndrome, a common condition, occurs when your eyes do not produce enough tears or when the tears evaporate too quickly. This leads to discomfort, redness, and vision problems. With increasing screen time, many people find themselves suffering from this condition. Here are some practical steps to alleviate dry eye syndrome:
- Follow the 20-20-20 Rule
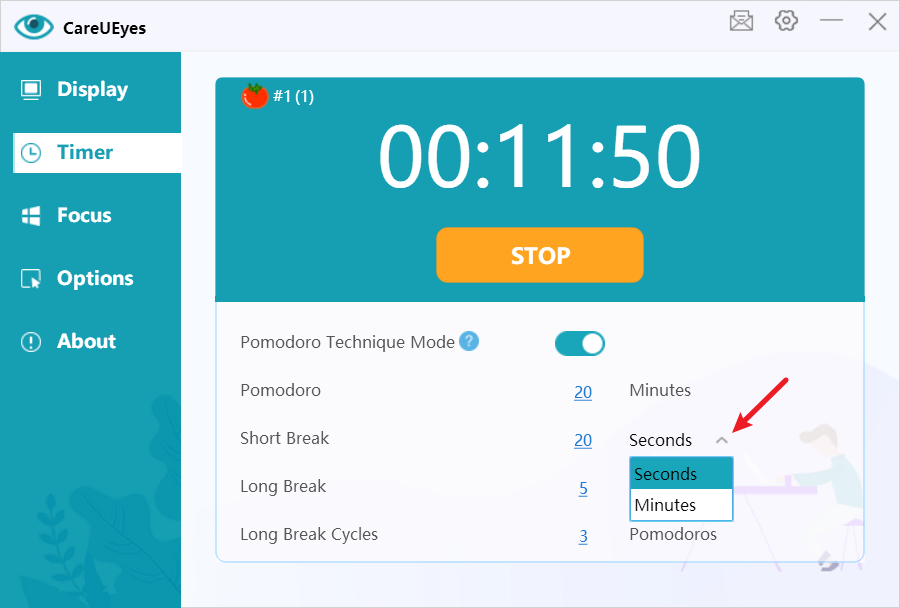
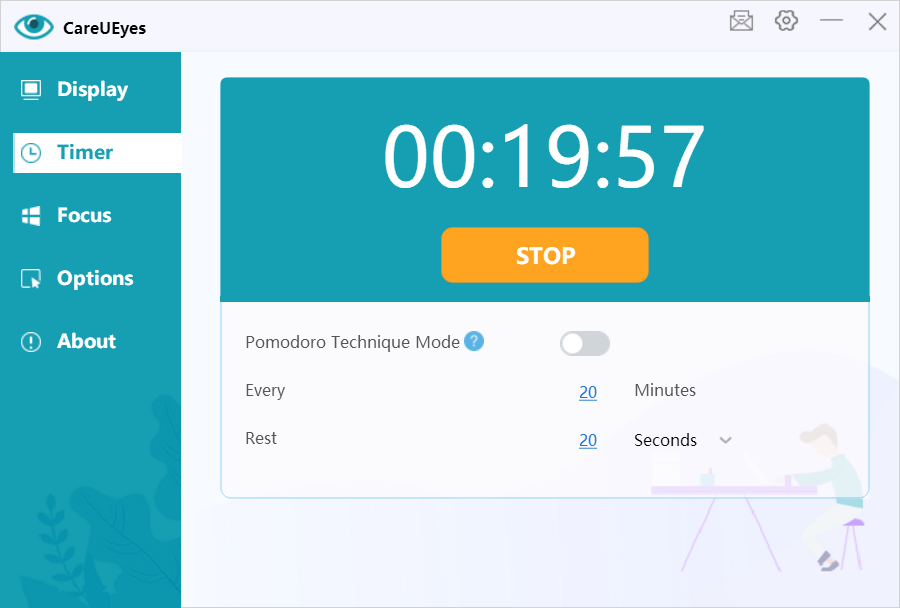
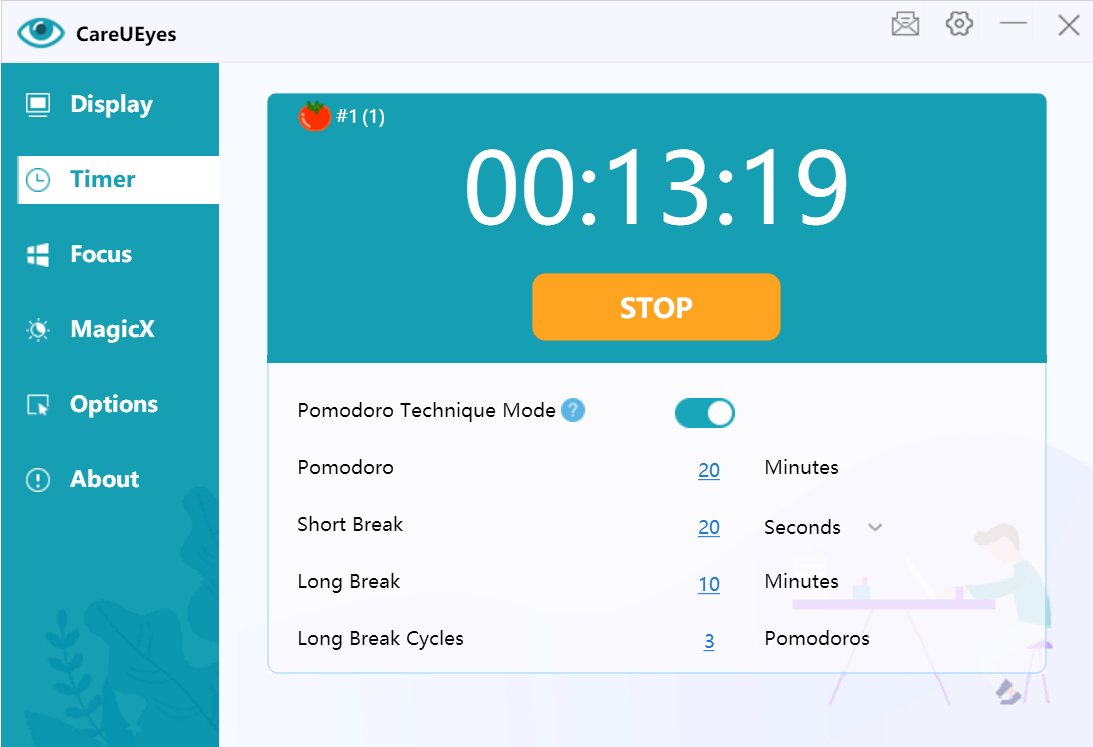
When using a computer or digital device, follow the 20-20-20 rule: every 20 minutes, take a 20-second break and look at something 20 feet away. This simple practice helps reduce eye strain and gives your eyes a chance to relax. - Blink More Frequently
People tend to blink less often when staring at screens, which can exacerbate dry eyes. Make a conscious effort to blink more frequently to keep your eyes moist. Blinking spreads a fresh layer of tears over your eyes, providing much-needed lubrication. - Use the CareUEyes Software
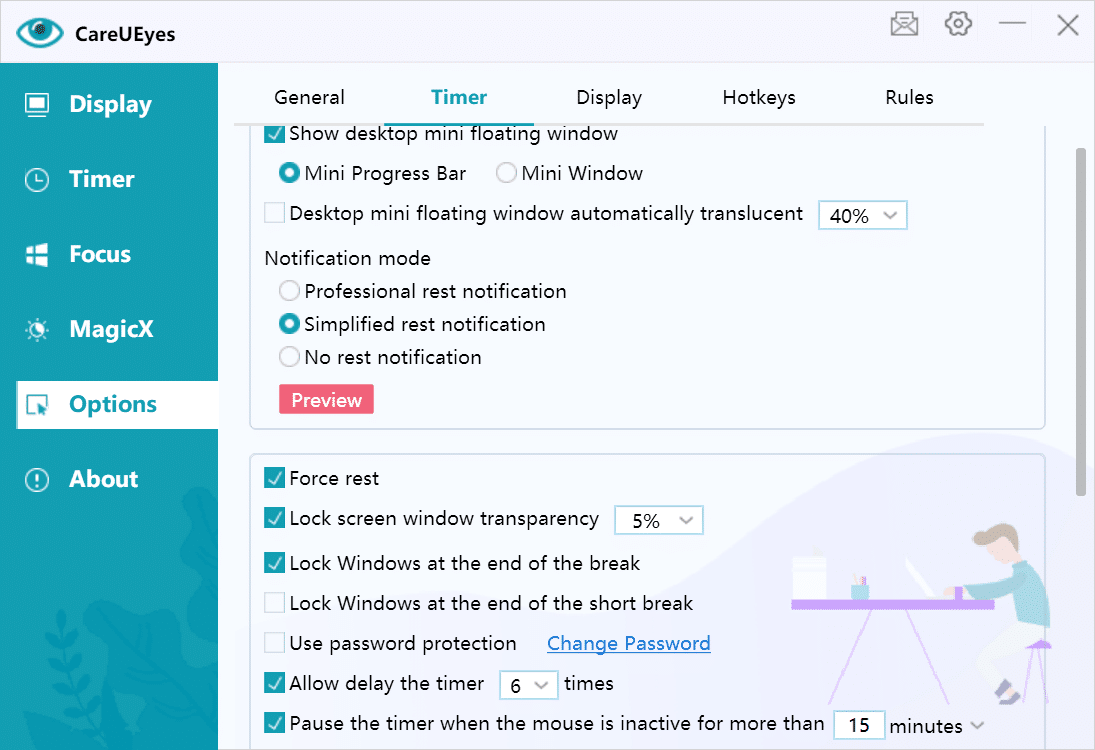
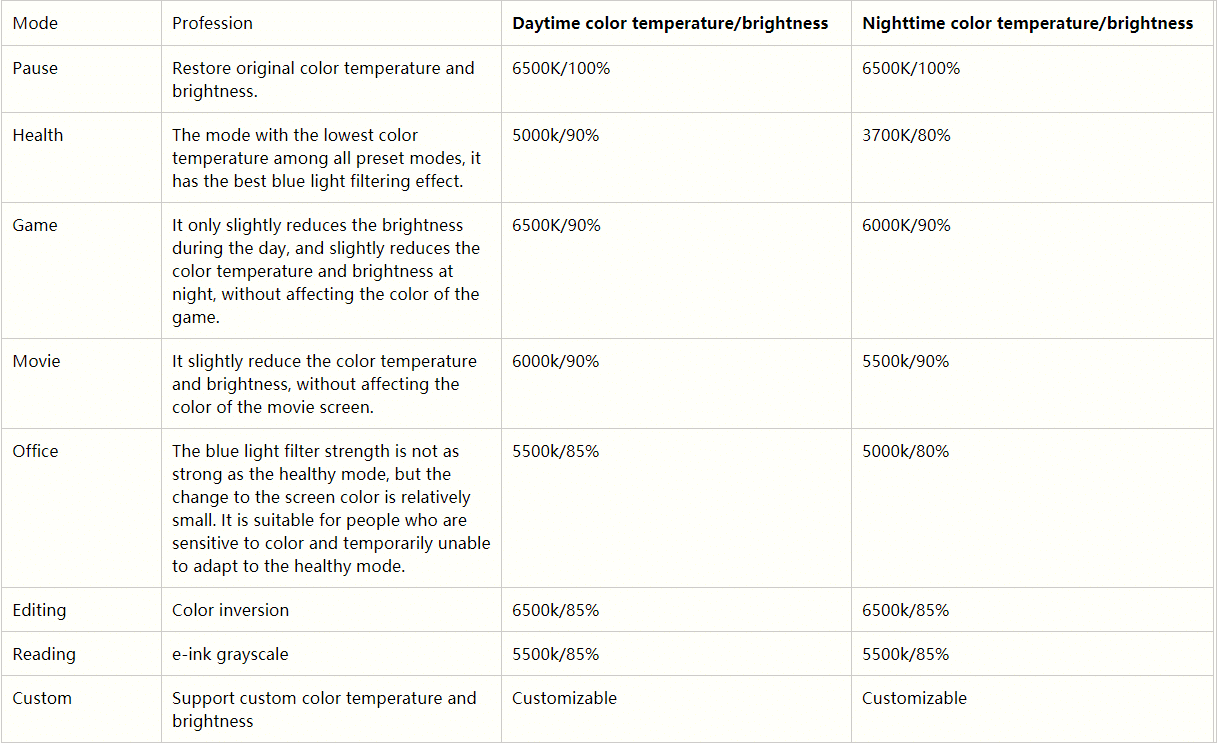
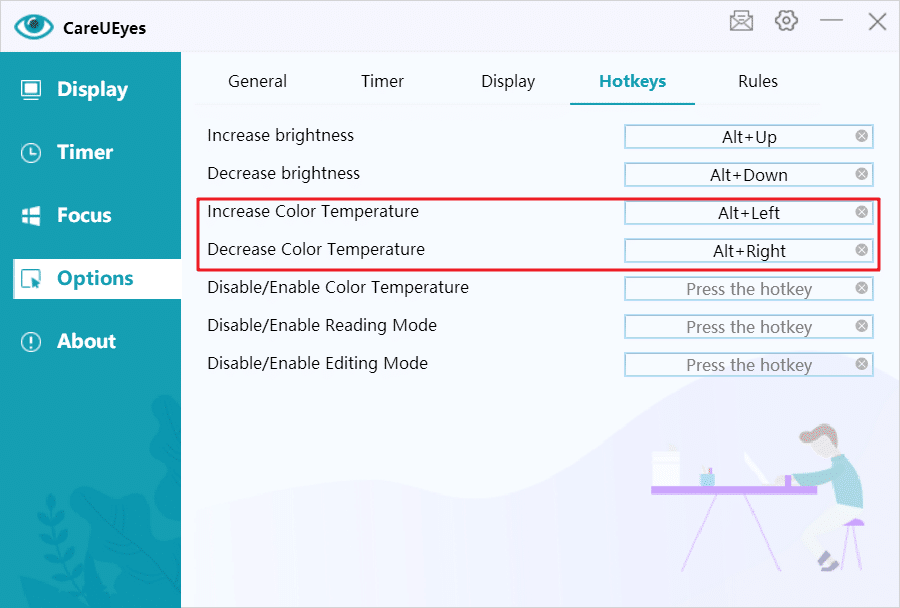
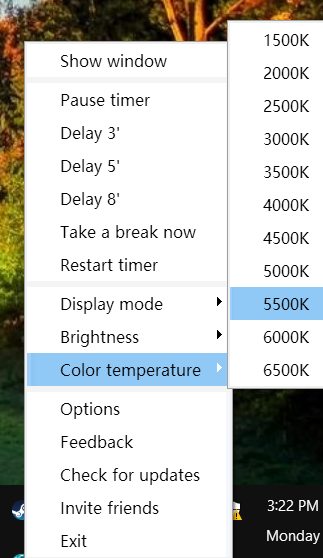
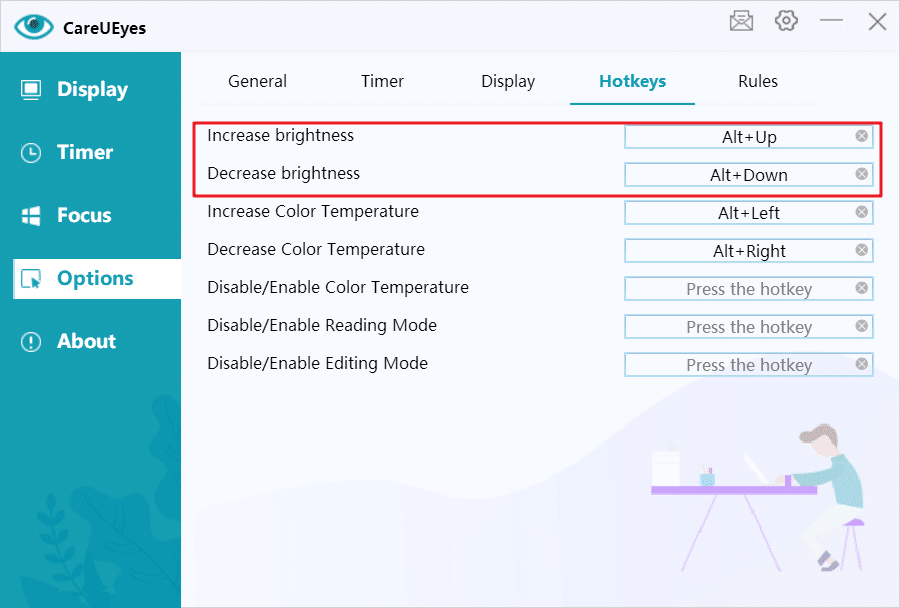
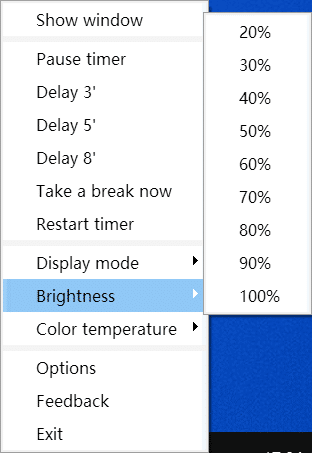
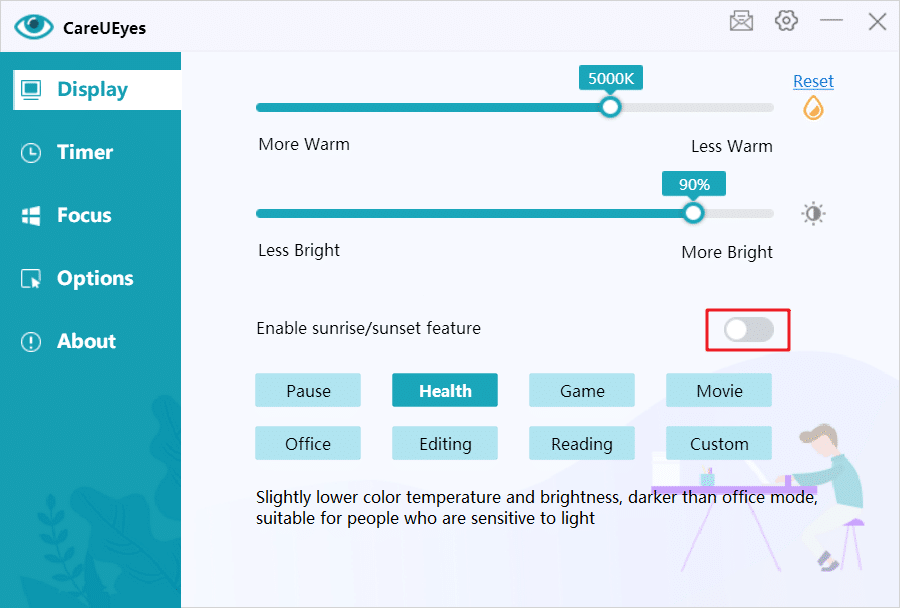
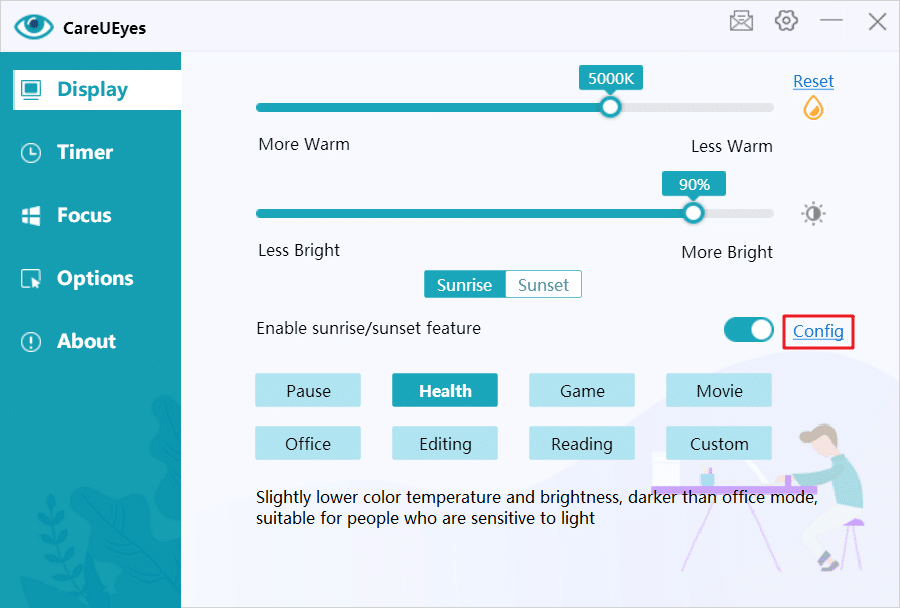
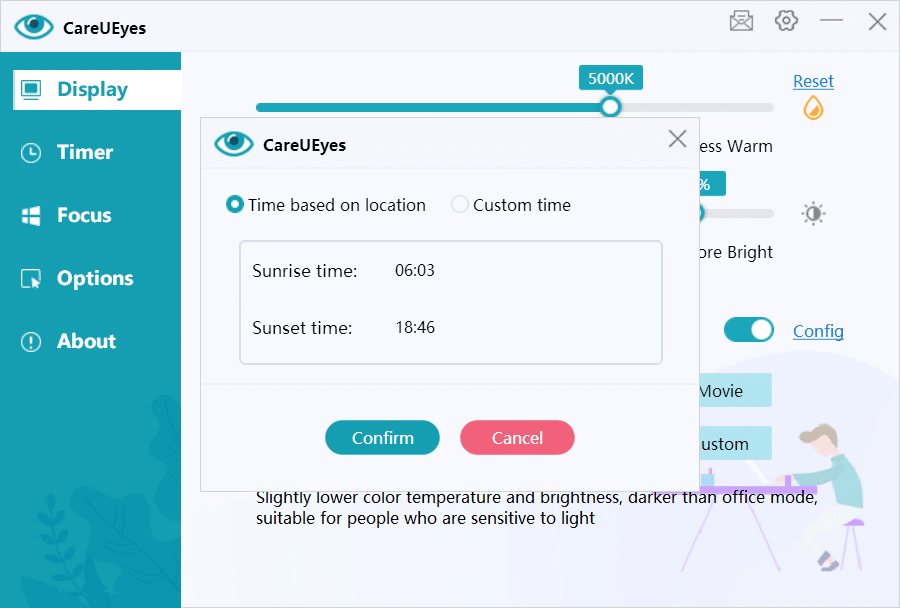
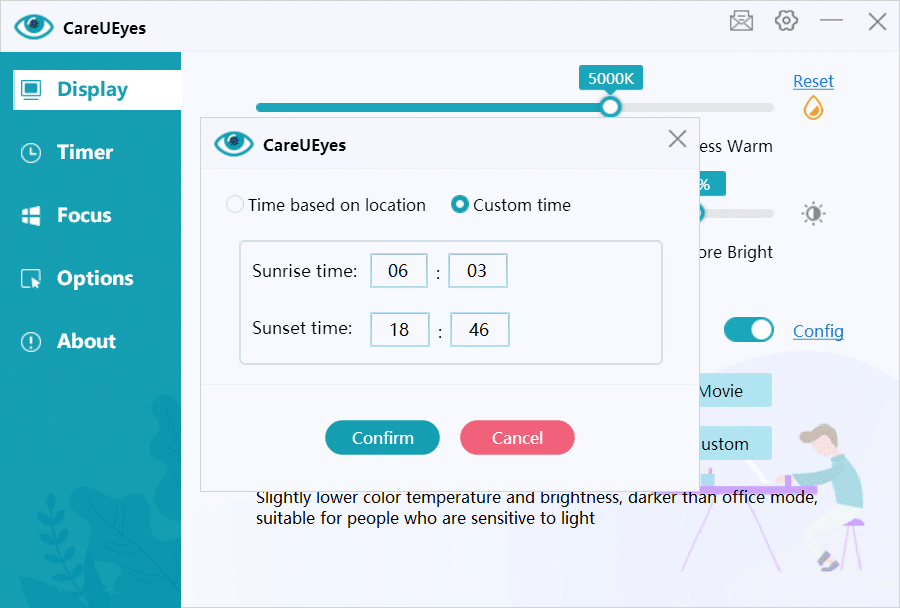
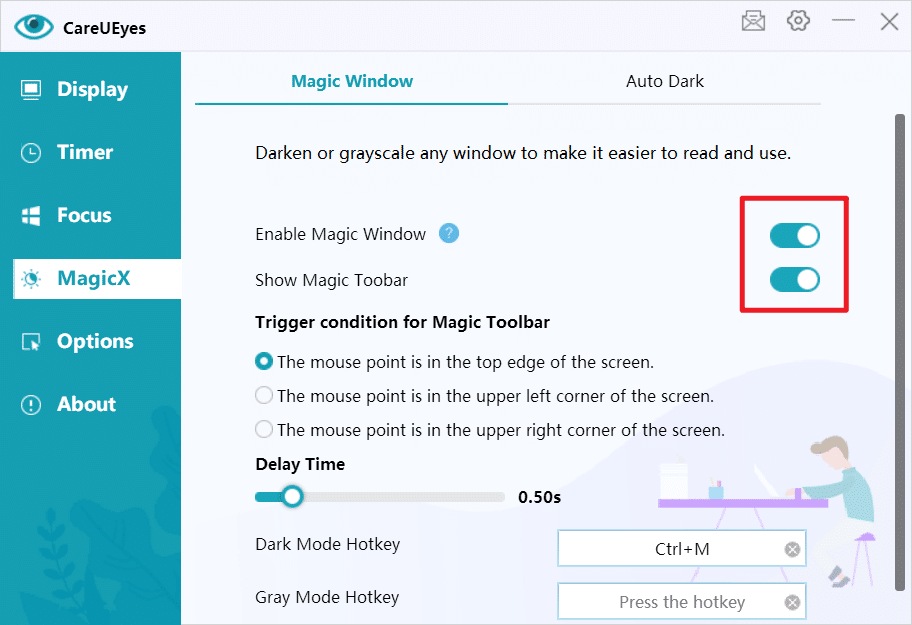
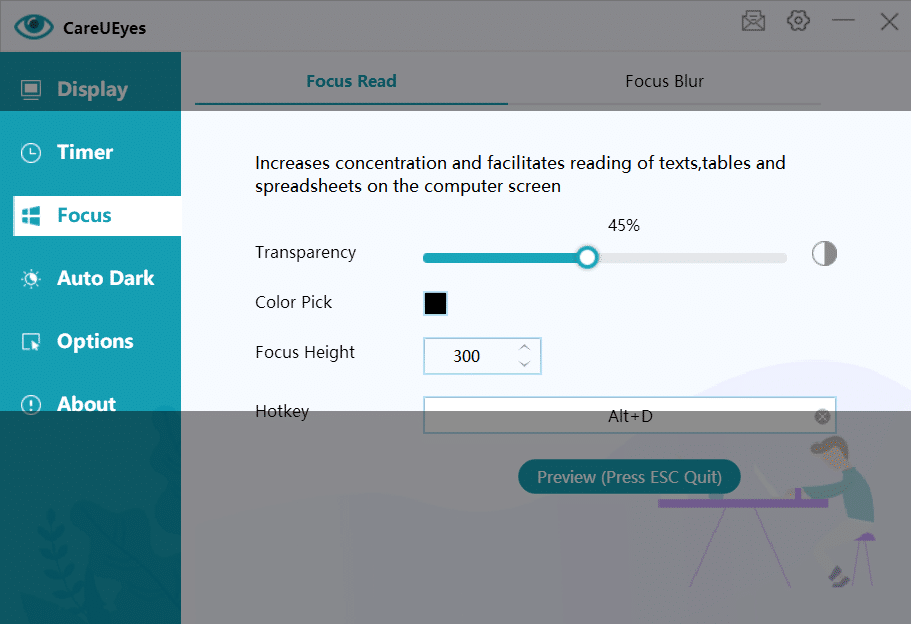
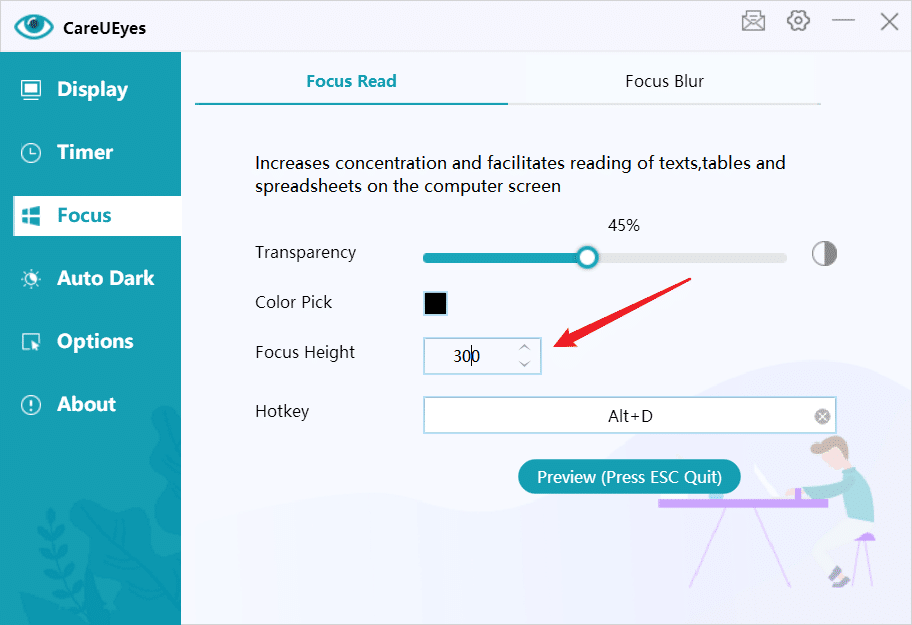
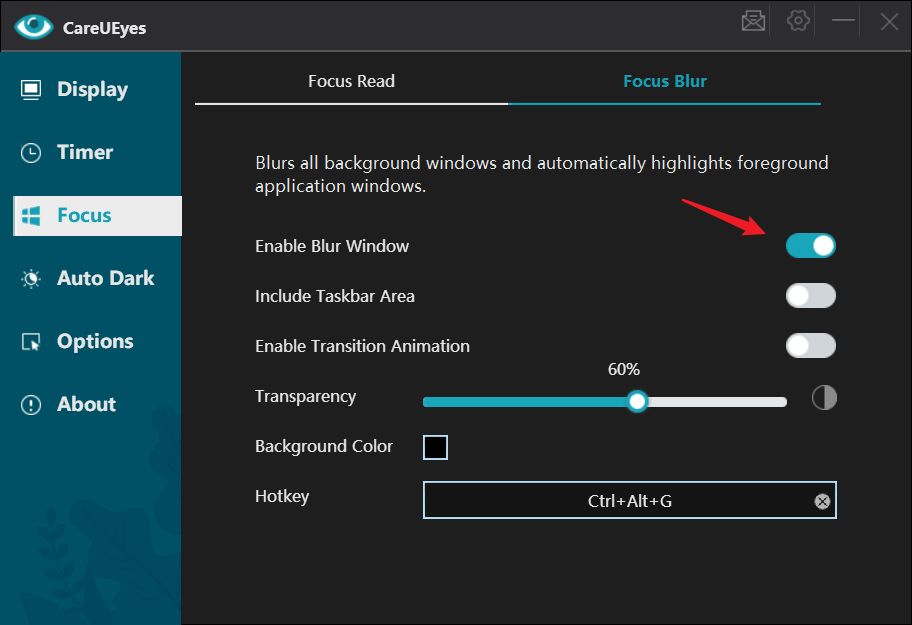
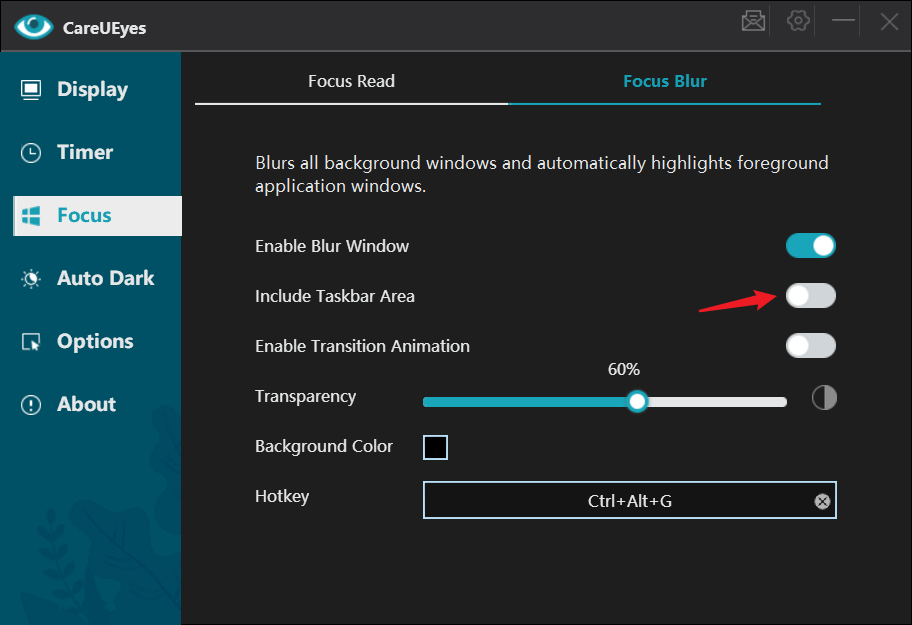
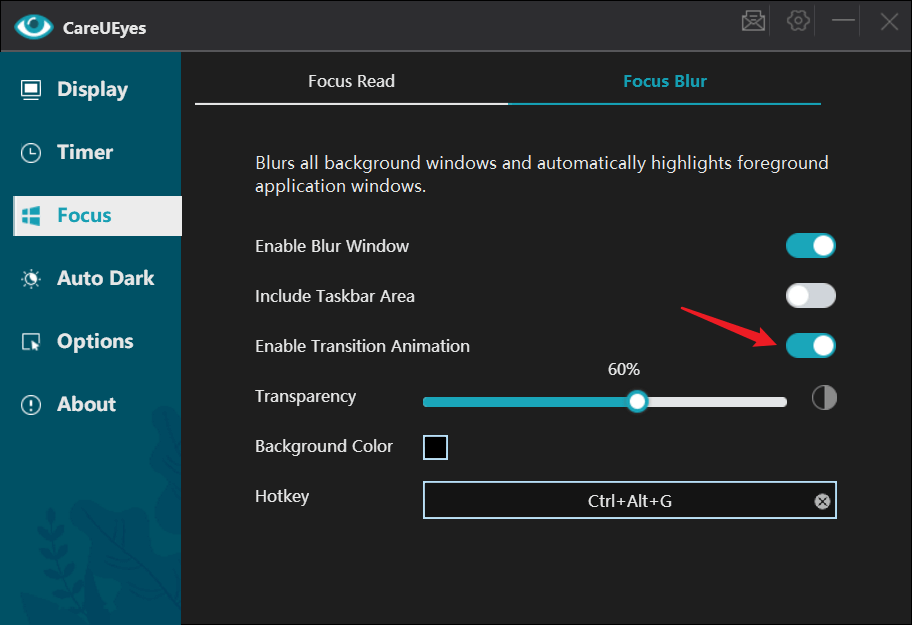
CareUEyes is a highly recommended tool for reducing digital eye strain. This software adjusts your screen’s brightness and color temperature to suit the time of day, reducing the blue light that contributes to eye strain and dry eyes. It also includes reminders for taking breaks and exercises to relax your eyes. By using CareUEyes, you can create a more eye-friendly computer environment, significantly alleviating dry eye symptoms.
- Maintain Proper Humidity Levels
Dry indoor air can worsen dry eye symptoms. Use a humidifier to add moisture to the air in your home or office. This is especially important in winter when indoor heating can reduce humidity levels, leading to drier eyes. - Stay Hydrated
Drinking plenty of water is essential for overall health, including eye health. Staying hydrated helps maintain the moisture balance in your eyes, reducing dryness and irritation. - Use Artificial Tears
Over-the-counter artificial tears can provide immediate relief from dry eyes. They help to supplement your natural tear production and keep your eyes moist. However, it’s important to choose preservative-free options to avoid potential irritation from preservatives in some eye drops. - Optimize Your Work Environment
Adjust your computer screen so that it is at eye level and about 20-24 inches from your face. This positioning helps minimize strain on your eyes. Additionally, ensure that your workspace is well-lit to reduce glare and reflections on your screen, which can contribute to eye strain. - Follow a Healthy Diet
A diet rich in omega-3 fatty acids, found in fish like salmon and flaxseeds, can help improve the quality of your tears and reduce dry eye symptoms. Additionally, foods high in antioxidants, such as leafy greens and carrots, support overall eye health.
Conclusion
Dry eye syndrome can be a challenging condition, especially in our digital age. However, by incorporating these strategies, including the use of CareUEyes software, you can significantly reduce eye strain and improve your symptoms. Remember to take regular breaks, blink often, and maintain a healthy environment for your eyes. By doing so, you’ll not only alleviate dry eye syndrome but also enhance your overall eye health and comfort.